Authentic Roman Pizza
 Since our last trip to Italy, I’ve spent an embarrassing amount of time and energy contemplating the virtues and characteristics of Roman style pizza. In fact, my search has been borderline obsessive in that every place we’ve lived since, including Oxford, New York, Seattle and now Vancouver, I’ve searched out pizza places that share those same characteristics, for both nostalgia’s sake and to continue my analysis. My conclusion about Roman style pizza, I think, is admittedly dull: it is an art. And like all art, there isn’t a single style. Classifying a pizza as “Roman style” simply isn’t possible.
But before I start sounding too pedantic on such a trivial topic, I’ll just get to the point of this blog post: over the past 8 or so years I’ve honed in a recipe that brings back all the Roman feels.
Necessary Ingredients and Items
- Baking Stone (square or circle) - I cannot stress the importance of this item enough. It makes a world of difference if you are not baking in a brick oven.
- Type 00 Italian Pizza Flour - Italians classify flour by how much they grind it, with type 00 being the most finely ground. In Vancouver, there is a phenomenal local brand called “Anita’s” that sells the best flour I’ve been able to find. Depending on where you’re at, you may need to experiment a bit.
- Olive Oil - Get decent stuff or at least stuff you like. You don’t need to go crazy, but you’ll use a lot of it and Safeway brand just isn’t going to cut it. For some reason, I find Whole Foods brand olive oil to be up to the task. Use what you like.
- Salt - just don’t cheap out on salt for anything. Buy good salt, in bulk.
- Canned Plum Tomatoes ideally - If you are making a tomato sauce, you must use plum tomatoes. No exceptions.
- Scale (in grams) - If you are measuring bread recipes by volume, just stop. Go buy a scale, convert all your bread recipes to grams and measure everything by weight. Scaling and sharing your recipes is 1000x easier by weight.
Methods and Notes
- I have had pizza doughs both very hydrated (70%) and not very hydrated (55%). Wet doughs always seem to come out more authentic, but not necessarily better! If you are a beginner, stick to 60-62% hydration. Any more and it becomes necessary to learn handling techniques for wet doughs.
- Do not go crazy with the toppings as is the status quo in the US. There is a time and place for Pizza Hut, here and now is not it. Simple is better, especially if you are working with ingredients from your garden! Nothing worse than your hard work, destroyed by piling sky high with crap ingredients. Get a few quality ingredients and your pizza will be more enjoyable.
- If you are experienced making sourdoughs, I would encourage you to incorporate this somehow into your dough. I generally make a biga, using my sourdough starter, that sits overnight or 8 hours before bake time.
- Or, instead of using sourdough, I bulk ferment for longer in the refrigerator. It gives the dough time to develop a more complex taste and makes it easier to handle when it is ready. Win-win.
The Recipe
Now, finally onto the recipe. This is the base recipe that I generally start with. You will of course experiment, and I recommend starting with the hydration levels given below.
Ingredients
- 325g water (for 65% hydration)
- 3g dry yeast
- 500g Italian 00 flour
- 5g Salt (about a teaspoon if you’re just winging it)
- 10g Olive Oil (Or you know like, 2 - 3 second poor. Whatever)
Method
- Dump 325g of water into a large-ish bowl.
- Rehydrate 3 grams (just shy of a teaspoon) of dry yeast in that water and stir. (Rehydrating dry yeast is a brewing habit of mine. Really though, you can simply add it, stir, and continue straight away.)
- Add half the flour (250g) and stir until a thick mud is formed.
- Add the salt and stir.
- Add the olive oil and stir.
- Add the rest of the flour (250g) about 50g at a time. As you near the last 100g or so of flour, the dough will become thicker and harder to work with. At this point you can either move it to the counter with the rest of the flour and try and knead. Or, what I do, is stretch and fold inside of the bowl continuously adding the rest of the flour a bit at a time. Keeping everything in the bowl ensures cleanliness. For this I use either a wooden spoon or a rice scoop. I’ve found the rice scoop works best. This method will also help you work with very hydrated doughs.
- Cover with a wet towel or cling film, and let bulk ferment for an hour. If hydrating your dough beyond 65%, stretch and fold in the above manner every 30 minutes or so.
At this point your dough is ready to shape and throw in the oven. You will want your oven pre-heated as hot as you can get it. Our oven gets up to about 250-275C, but not all ovens do.
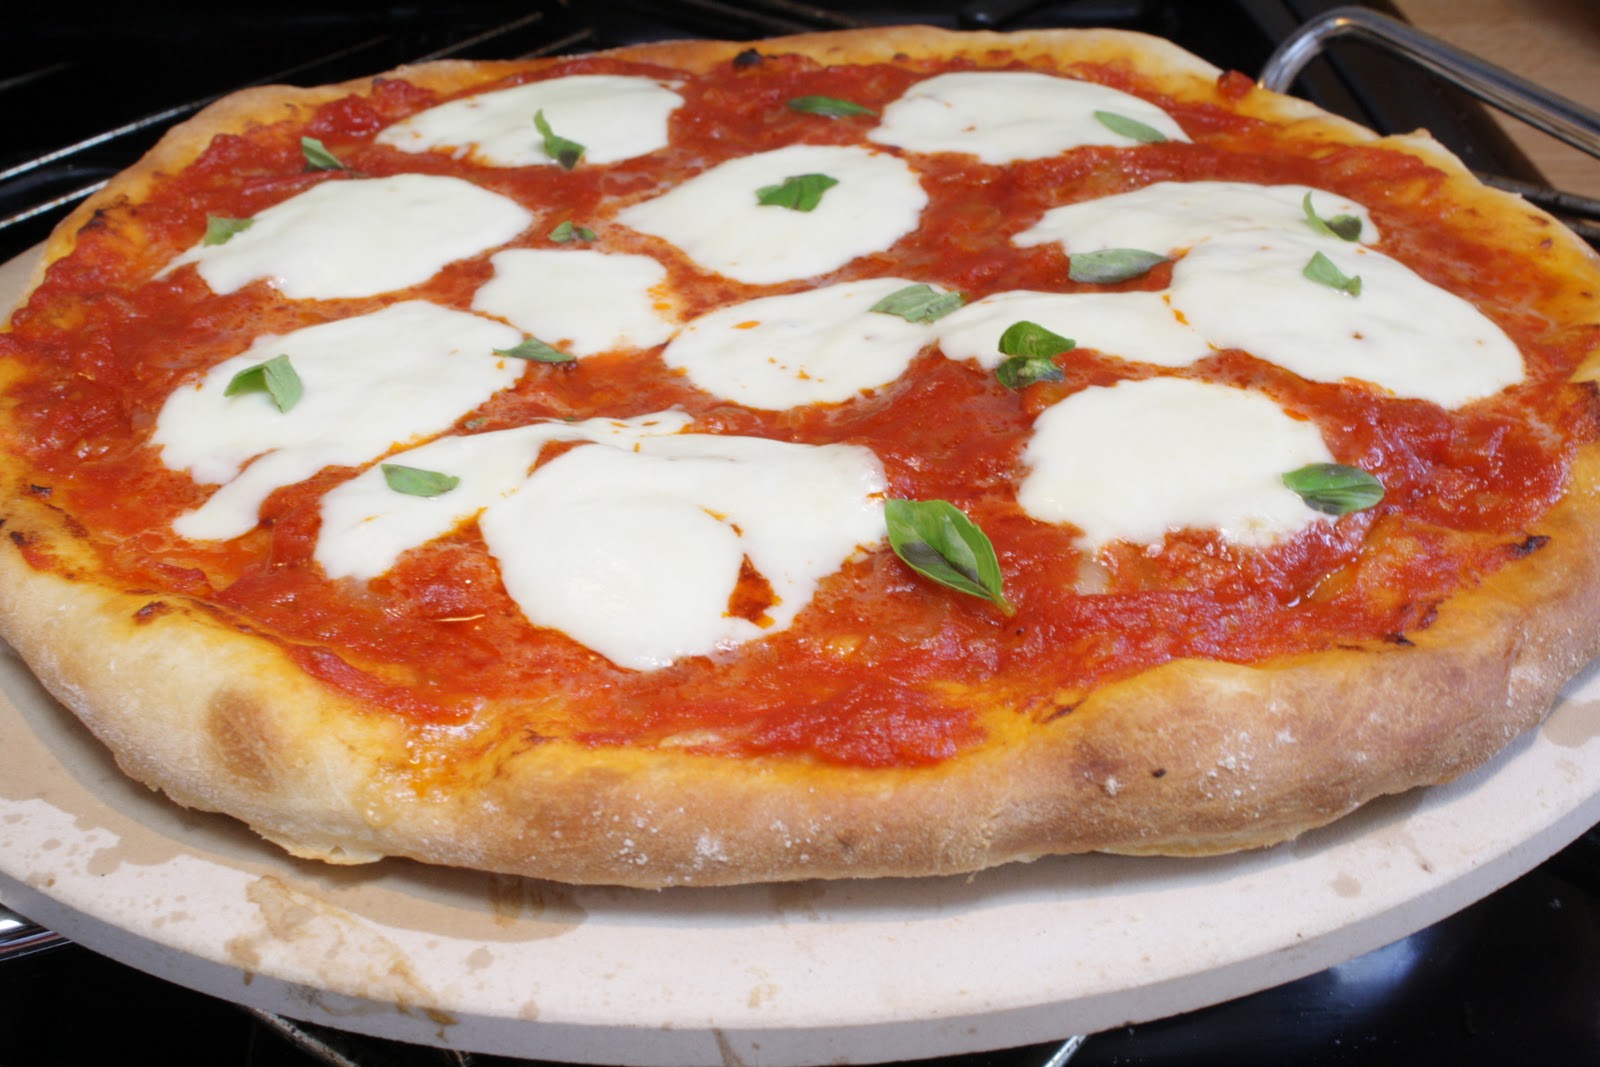
For instructions on how to shape, it is probably best to watch some Youtube videos. For thin crust pizza, split your dough into thirds. For thick crust pizza, split it in half. Shape the dough, place on your baking stone (I usually preheat the stone but this is not necessary). Make small craters in the dough with your fingers by lightly pressing them into the dough. Pour a bit of olive oil over the dough now and spread it around. I do it by feel but probably between 2 and 3 tablespoons, depending on how oily you want it. Sprinkle a pinch of salt over it and put in the oven for about 6-8 minutes, or until the dough has started to brown. Once it starts to brown, take it out of the oven, add your toppings, and put it back in for another couple minutes until the ingredients have all melted together. Let cool for a few minutes and voila!